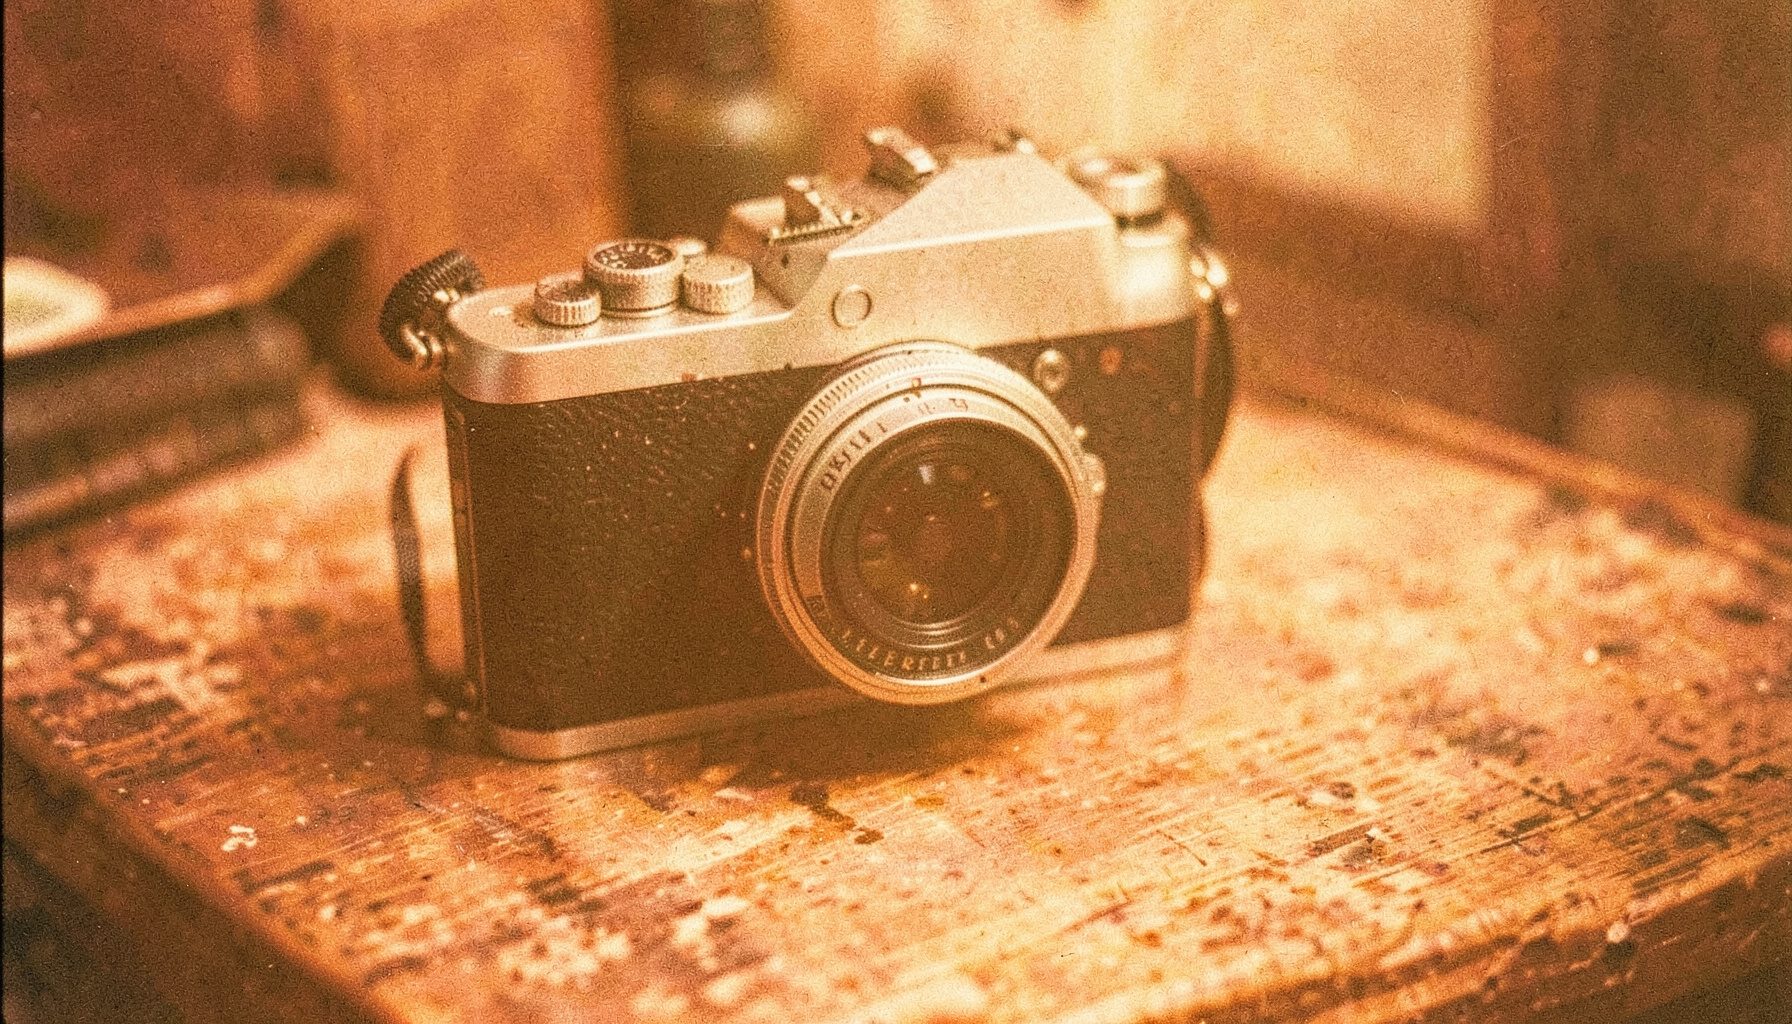
How to Clean Camera Lenses Properly
Cleaning camera lenses correctly is one of the most important habits for any photographer. A careful, methodical routine keeps glass free of dust and fingerprints, and helps you avoid fungus and mould creeping into the barrel.
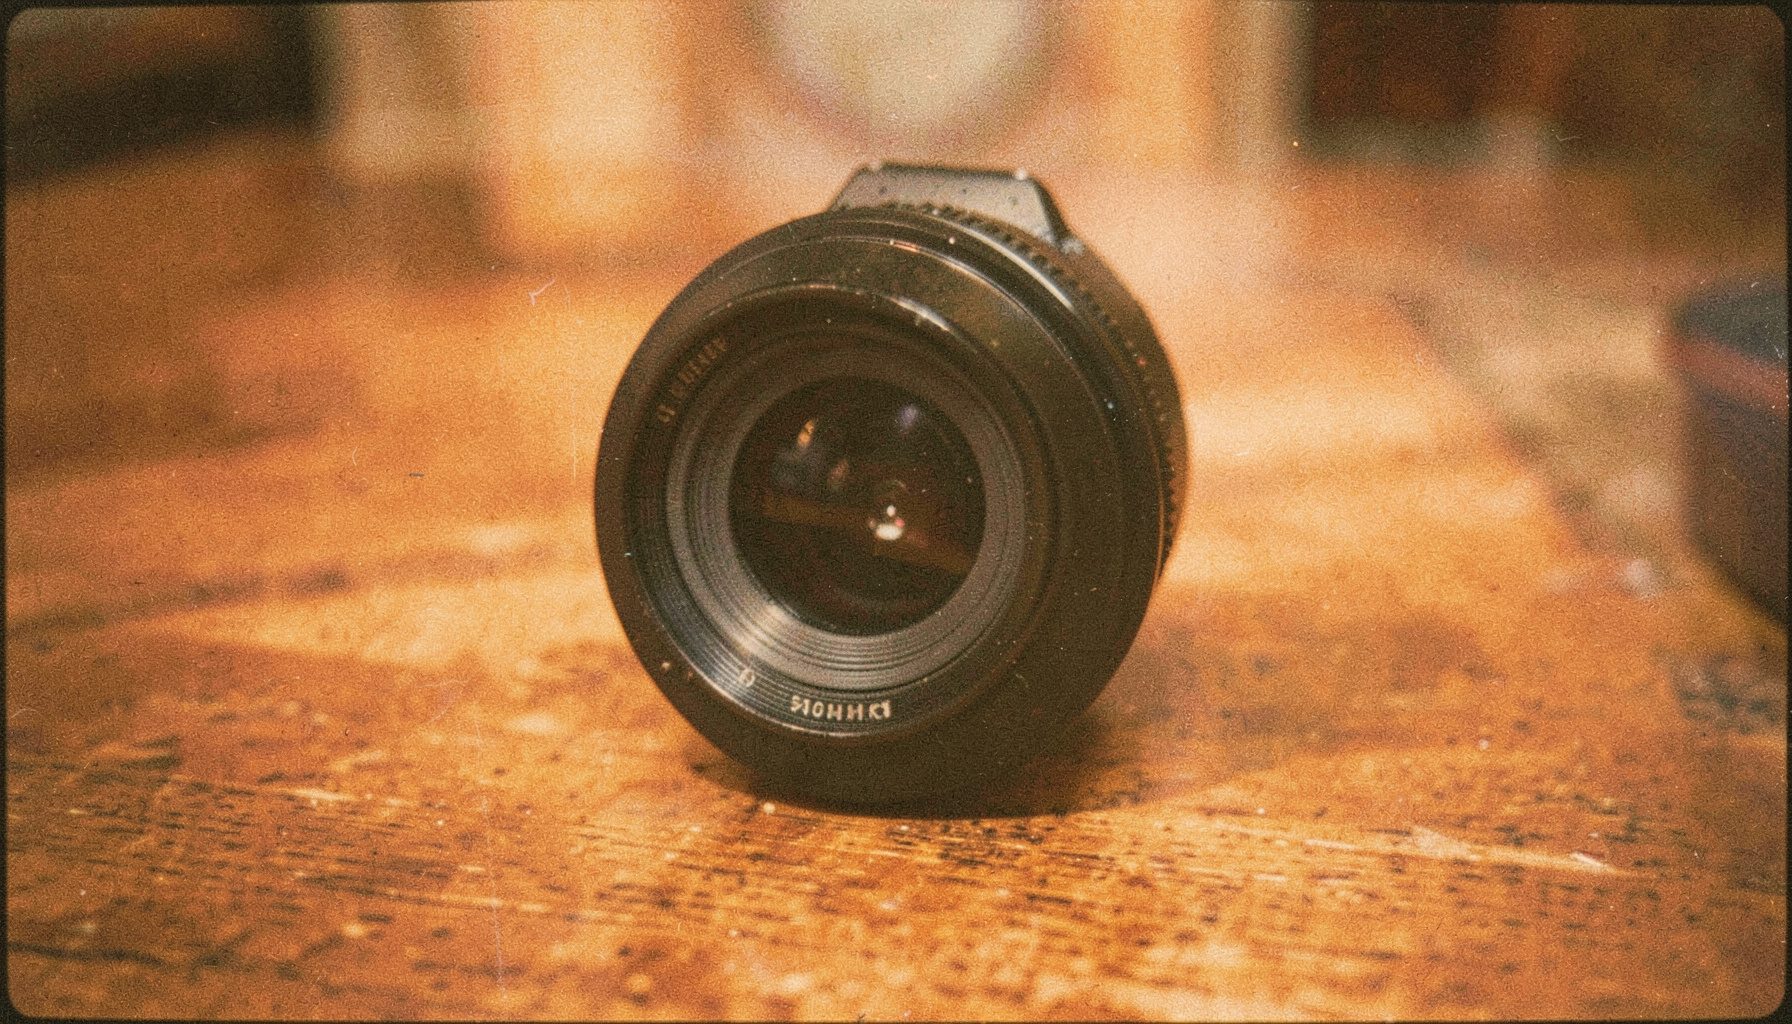
A few small tips that make cleaning easier
Most lens problems are not caused by a single dramatic event. They build up slowly: a dusty table, a change of temperature, a lens stored in a damp cupboard. Working through a few simple habits first makes the rest of the job much easier.
1. Mind the environment around you
Choose a clean, dry table with good light. Avoid dusty rooms, carpeted floors, and anywhere recently painted or renovated. If you can work outdoors on a calm, dry day with a light breeze, that also helps keep airborne particles away. A small light source on the side of the table helps you see dust on the front element.
2. Mounting the lens
Attach the lens to the camera body before you clean it, so that you are not handling a loose lens on the table. This reduces the chance of the lens rolling, tipping, or falling onto a hard surface.
3. Removing the lens
When the lens has to come off, do it over a clean surface rather than in mid-air. Press the release button, turn the barrel to the unlock position, and lift the lens away along the mount axis instead of pulling it straight up. Keep the mount and the rear element facing upward so that no grit falls inside.
Cleaning the camera body
The body collects dust around dials, buttons and the hot shoe too, and the same dry, gentle approach applies. Work over a clean surface, and never use compressed air directly against a sensor or an exposed element.
- Switch the camera off and remove the battery before opening any compartment.
- Use a soft, lint-free cloth, lightly dampened with a small amount of lens-cleaning fluid, to wipe the exterior surfaces.
- Clean the mount and the area around the lens release button, where grime collects and can cause play in the mount.
- Wipe the viewfinder eyepiece with a clean cloth, keeping cleaning fluid away from the glass.
- Check the battery compartment and card slot door for grit, and close them fully when finished.
Keeping the sensor clean
Sensor dust shows up as stubborn dark specks that stay in the same place in every frame. Because the sensor sits behind the mount and behind the shutter, the cleaning routine is different from the one you use on the outside of the camera.
- Switch the camera off before the sensor is exposed, and use the sensor-cleaning mode that your camera body provides.
- Mount the body on a tripod, set the shutter to its fastest speed, and use a blower with a burst of air to lift loose dust from the sensor surface.
- Never touch the sensor, the sensor plate, or the mirror with a cloth, a swab, or your fingers.
- If spots remain after several attempts, take the body to a service centre rather than opening it yourself.
Stopping dust and mould before it starts
Mould and fungus thrive in warm, humid, enclosed spaces, and once fungus starts to grow on the internal elements it is very difficult to remove. Prevention is far easier than a repair.
- Store lenses in a dry, ventilated place rather than in a sealed bag that traps moisture.
- Keep lenses away from damp walls, leaking roofs and bathroom humidity.
- After a shoot in a cold or humid environment, let equipment return to room temperature before opening any case or bag, so condensation does not form on the glass.
- Change lenses as little as possible in the open air; a change bag or a sheltered spot reduces the amount of dust that reaches the sensor.
- Cover the mount with a body cap whenever a lens is not attached.
- Give the glass a quick wipe now and then, even when it looks clean, so that oils and dust never build into a layer.
A quick cleaning checklist
| Area | Tool | Method |
|---|---|---|
| Front and rear elements | Lens cloth, blower, lens-cleaning fluid | Dust off with the blower first, then wipe in a circular motion from the centre outwards. Cleaning photographic gear is one of those quiet rituals that most people postpone until a problem becomes obvious. Dust settles on sensor glass, fingerprints bloom across filter threads, and a lens left in a humid cupboard can develop haze and fungus long before anyone notices. By the time a shot looks flat or a corner appears soft, the cause is usually a build-up of ordinary neglect rather than a single dramatic failure. A short routine of careful handling and gentle cleaning keeps images sharp and equipment in good working order. The environment you work in matters more than most beginners expect. A clean, dry table with good light gives you a stable surface and clear visibility of what you are doing. Dusty rooms and carpeted floors raise the amount of airborne particles that can land on an open lens or a sensor. Recently painted or renovated spaces add airborne contaminants of their own. Working outdoors on a calm, dry day with a light breeze can also help, since moving air keeps particles from settling on whatever you are servicing. Always power equipment down before you begin. Switch cameras off, remove batteries where applicable, and check that any storage card or memory device is ejected so nothing is accidentally erased or damaged. Detach lenses by the mount rather than the barrel, and keep caps in place whenever a lens is not being handled, because dust and fingerprints arrive quickly on exposed glass. A small light placed to one side reveals dust and smudges far better than overhead lighting, which tends to hide them. Different surfaces call for different tools and different amounts of patience. Glass elements and filters respond well to soft, lint-free cloths and blower bulbs; abrasive or alcohol-based cleaners can permanently damage coatings that protect your optics. Rubber and plastic parts handle mild wipes comfortably, while textured grips collect dirt and benefit from a light brush or a barely damp cloth. With a fingerprint scanner, biometric readers, and other sensitive electronics nearby in the same kit, a dry, careful approach is always preferable to spraying anything. Finally, let everything dry fully before you reassemble. Residual moisture trapped inside a lens barrel or around a filter ring can invite the very haze and corrosion you are trying to prevent, and a damp sensor or battery compartment is simply unsafe. Once parts are clean and dry, store them properly: caps on, bodies in a dry case, and lenses kept away from places with fluctuating temperature and humidity. Storing gear sensibly does more for long-term performance than any single cleaning session. |
| Lens barrel and filter threads | Dry soft cloth | Wipe gently; remove grit from the filter ring before mounting a filter. |
| Camera body exterior | Microfibre cloth, lightly dampened | Wipe without soaking; keep fluid away from openings and buttons. |
| Sensor | Blower, sensor-cleaning mode | Air only, with the camera off and mounted on a tripod. Never touch the sensor. |
| Storage | Dry, ventilated cabinet | Keep lenses out of humid conditions to reduce the risk of fungus and mould. |
Cleaning is one of those small routines that pays off across every photograph you take. Work slowly, keep the surface dry and dust-free, and the glass will stay clear for years.
Keep reading
Our related guides cover the rest of the photographic kit and the wider world of gear and apps.
- Home — featured articles across tech, home improvement and photography.
- Home — the gun safe dehumidifier guide, including installation notes.
- Design — how to create a good infographic with focused data and clear layouts.
- Fitness — advice on choosing fitness equipment.
- Contribute — guest posts and contribution guidelines.